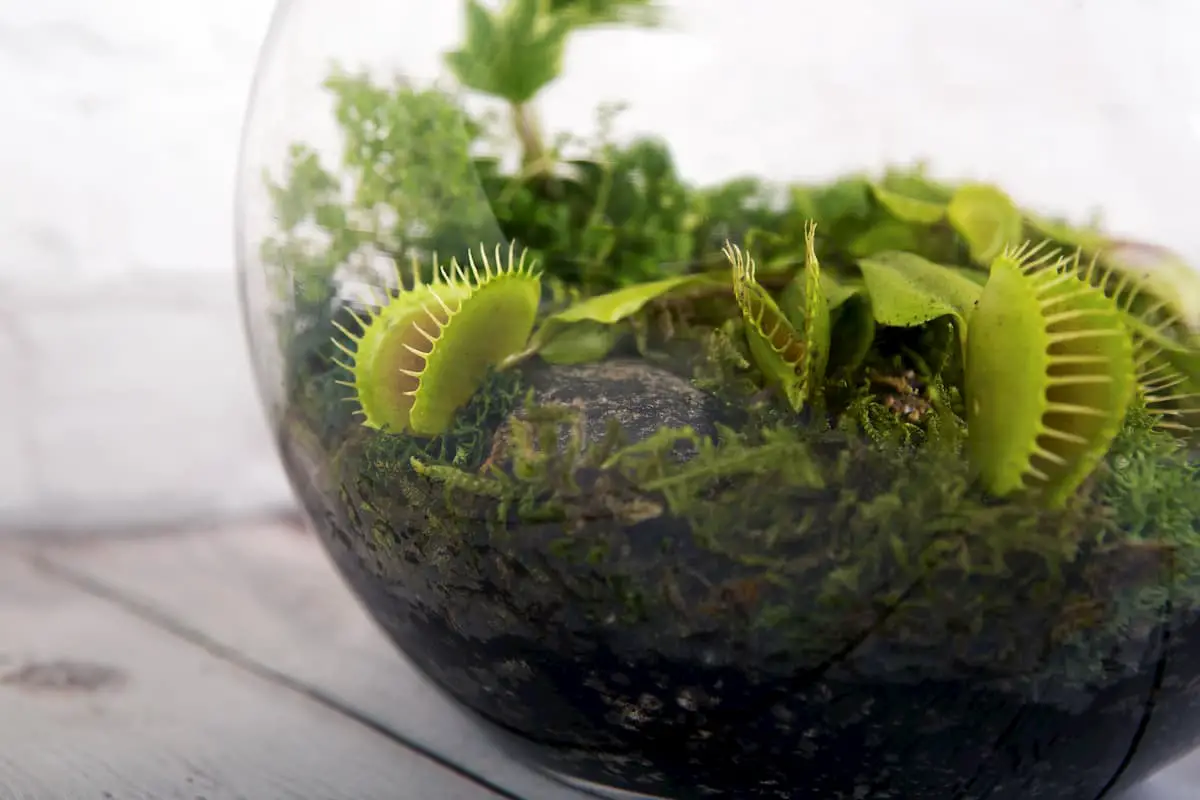
If you like carnivorous plants and would love to have one but live in an unfavorable climate then you may need to look into a terrarium.
Terrariums are a perfect way to grow many indoor, tropical, carnivorous plants that prefer the high humidity that a terrarium provides.
Steps To Build a Terrarium:
- Find A Terrarium Tank [ Amazon ] [ Etsy ]
- Build Your Base Layer [ Amazon ] [ Etsy ]
- Arrange Your Stones [ Amazon ] [ Etsy ]
- Add Your Soil Mix [ Amazon ] [ Etsy ]
- Add Your Sphagnum Moss [ Amazon ] [ Etsy ]
- Organize Moss Layer to Allow Plants to Lay in Place
- Cover Your Tank
While this is only a few short steps it is more of a project for it takes some time and effort to place items well and make sure they are pleasing to the eye while ensuring your plants have the ability to flourish.
What is a Terrarium?
Natural diffused/shaded sun or fluorescent lighting can be used. In addition to plants and the ingredients described below, you will need some clear cover that can be opened more or less to provide ventilation.
Use fairly thin material for best light transmittance. Glass shops will usually cut and polish/grind sharp edges off if you give them measurements. Don’t forget lighting and an inexpensive siphon to drain excess water. Maintenance tips follow construction.
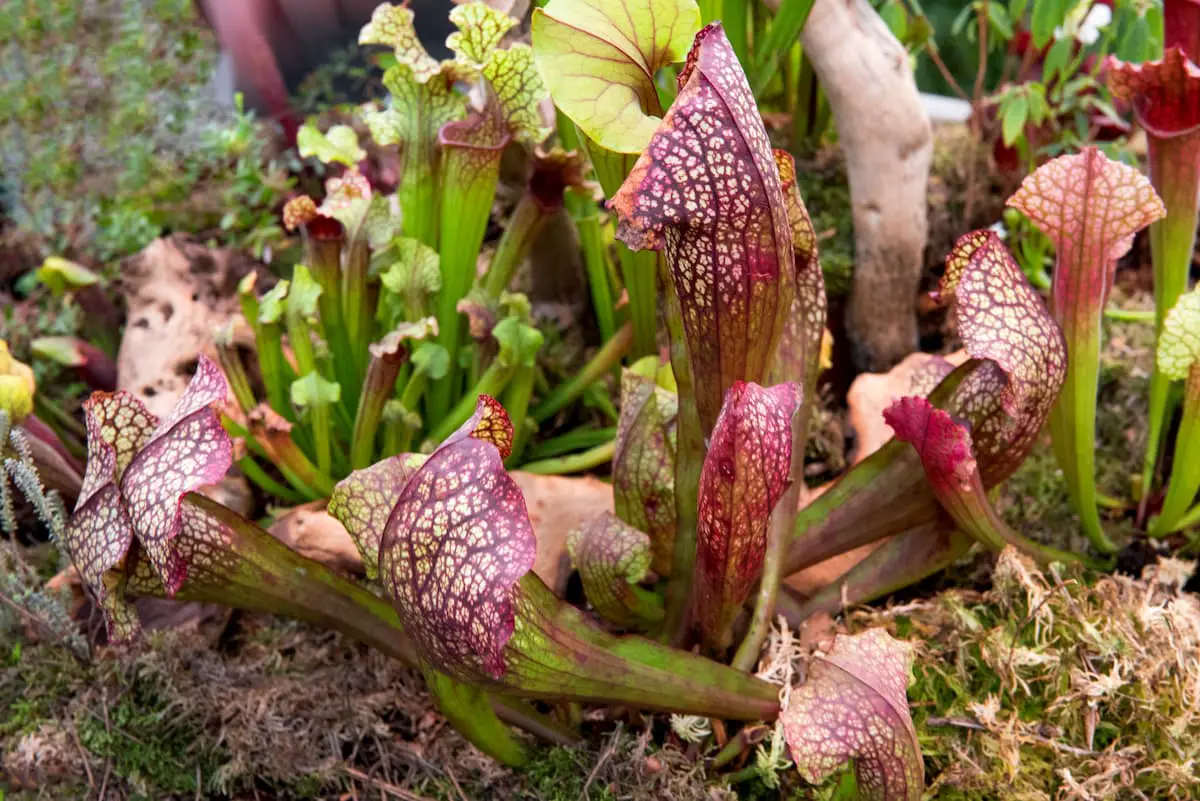
Best Carnivorous Plant Options for a Terrarium
Choosing the best plants that are suited to terrarium life will also ensure you have an enjoyable experience. You are looking for more temperate species that require a cold winter or plants that need full sun are generally not good terrarium subjects.
The most optimal plants will be ones that prefer either cooler temps (55-75° F) or select all warmer ones where they like (65-85°+ F) depending on where you live and the prevalent weather.
Below are some good quality options that hold up to the above needs to hopefully provide you long-lasting enjoyment. The links below are to Etsy as the sellers as on Amazon the sellers seem to be quite shady and will deliver dead plants or incorrect seeds when I reviewed their seller reviews.
- Monkey Cups (Nepenthes)
- Sundews (Drosera)
- Marsh Pitchers (Heliamphora)
- Australian Pitcher Plant (Cephalotus)
Each of the above carnivorous plants is a good choice as long as you pay attention to the needs of each plant. Remember that a terrarium is large, cumbersome, and heavy and is best built where they are planned to stay long-term.
7 Steps to Complete Your Terrarium
Now we are going to walk you through each step in assembling your terrarium and how to ensure you make the right preparation for a long plant lifespan!
Step 1 – Choose Your Terrarium
This can be as simple as a sealable plastic tub with clear sides to custom builds and designs from Amazon, Etsy, or similar vendors. I would say that you can find many options from $10-$100 or more depending on their overall complexity.
Step 2 – Build Your Base Layer
This step requires a decent amount of course sand, which will vary based on your container.
If you have a small goldfish size container you will need much less course sand than if you have a fish tank-sized terrarium.
Add 1 1/2 inches of slightly damp coarse sand to cover the bottom
You are wanting to add enough sand to be around 1 1/2 inches deep around the entire base, this will help to keep water off of the plants directly so you don’t get root rot.
Step 3 – Arrange Your Stones
Now you will want to take some time and carefully arrange stones to give the appearance you wish to from the terrarium, typical setup will be a wall growing taller towards the back giving a full view from one side.
These stones need to be non-alkali stones, and this means you don’t want them to be limestone, marble, or similar. You may wish to find visually appealing colors to match the plants for a fantastic display.
If you use a glass-based enclosure be careful when placing your stones to ensure you don’t damage the glass with the placement. Use some soil mix as needed to position stones.
Adding soil to lift them up will give depth to your planting.
Step 4 – Add Your Soil Mix
You now want to start adding in soil all around the stones to build support for them to ensure they won’t fall and to raise them up if needed. Be careful to avoid the glass so you don’t scratch or break your terrarium!
You should make sure you build up the stone support and if anxious I would angle any stones toward the inside of the terrarium so if they fall it will stay inside and away from your glass.
Normal Soil Mixtures:
- Small Sundews
- 40% Sand
- 60% Peat moss
- Heliamphora, Cephalotus, Larger Sundews, Nepenthes
- 30% Perlite
- 70% Sphagnum
- Nepenthes
- 30% Orchid, (fir), bark
- 40% Sphagnum
- 30% Perlite
Please make sure to consult plant care guidelines for individual plant needs regarding their needs for soil makeup.
Step 5 – Add Your Sphagnum Moss
To give more greenery to your terrarium, you want to use live or dried Sphagnum moss, which you press into the surface. Though if you want you could choose many other surface covers like bark, pine needles, stones, and similar as each project needs.
Small sundews are best planted on a bare peat and sand mix without any live moss around them. This is due to the moss quickly burying and killing small sundews.
Additionally, you can use the sphagnum or peat as a layer to help hide any of the externally viewable perlite next to the glass or on the surface, this will make for a more visually appealing terrarium.
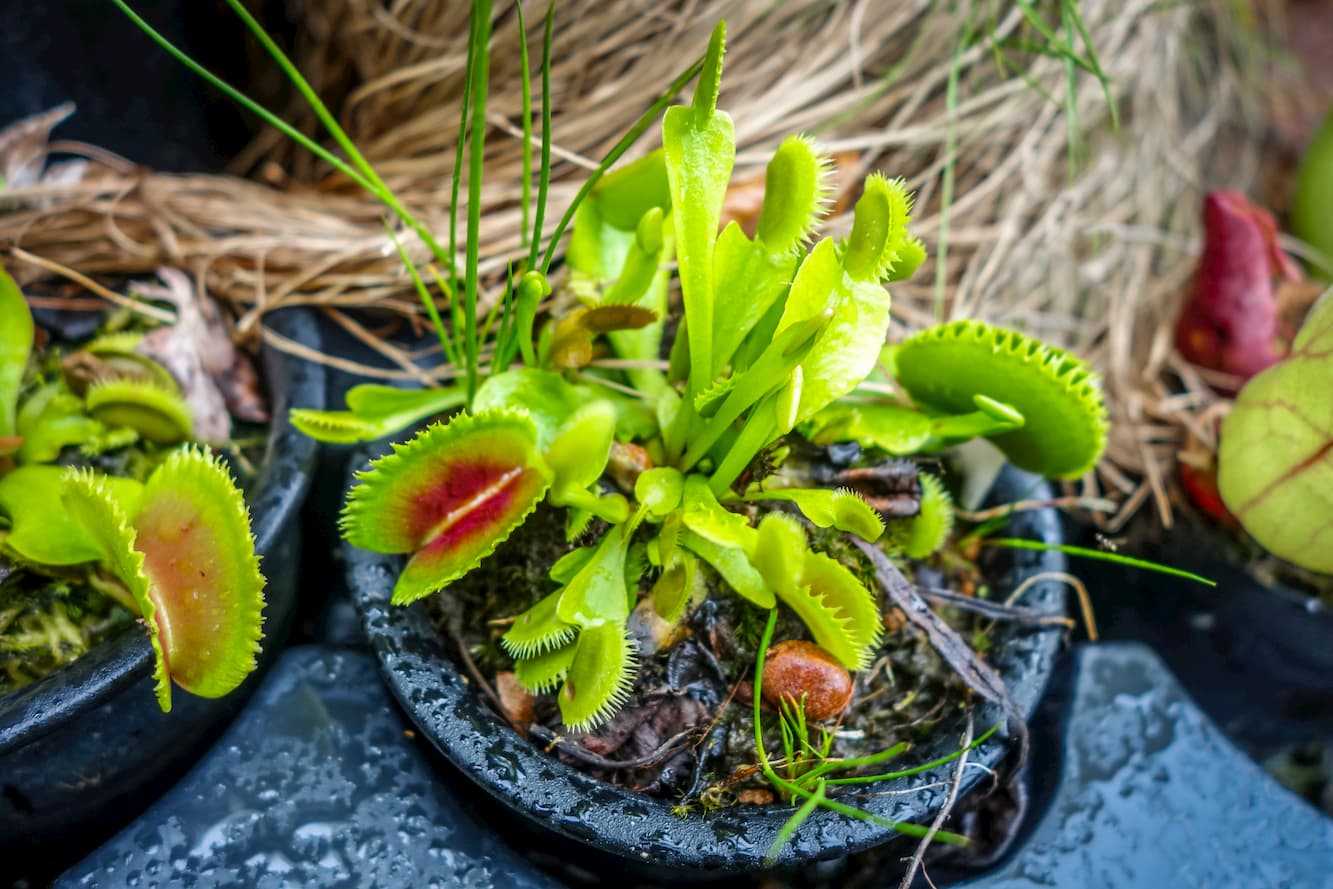
Step 6 – Organize Moss Layer to Allow Plants to Lay in Place
Now you are at the fun part! You will want to part the soil surface coverings you placed to allow the gap for you to place your carnivorous plants. You can choose to freely plant or leave within small pots for easy placement.
If you choose to use a pot then you will need to ensure the pots can drain well and that they may need more direct watering within the pot. Over time the roots will typically grow outside of the pot and this wont be as big an issue for you.
Make sure to keep any live Sphagnum away from plant stems.
Step 7 – Cover Your Tank
Lastly, and also the most simple, you want to cover the tank with come kind of cover that can also be opened to allow ventilation as you want to have a gap for fresh air to enter in.
Most vents will be opened about 10% or so to allow proper airflow and ventilation for the plants contained inside. To make sure it doesn’t fog up the glass you want to aim for the vent to be in the middle or facing side to help cut down on the fogging allowing you to see inside.
Should you start to see fogging or condensation on all the sides or a majority of the sides then you will want to increase your vent a little more and increase until the fogging and condensation dissipates.
Lighting is where you can make the colors pop but must be handled with care as you don’t want to add more heat into a small area or you may overheat and kill everything.
Some Options From Amazon:
Ongoing Terrarium Maintenance
As with any growing operation you will have ongoing maintenance to keep all the plants healthy and growing while also maintaining a clean appearance.
Watering
When you water your carnivorous plants you want to avoid using tap water as it is not safe for your plants. You instead want to focus on using a more pure water like a distilled, rain or any water that has been put through reverse osmosis filtration.
The issue with other water filters and things like a kitchen-style cartridge-based filter doesn’t remove salts that can harm plants.
As purified water usually has had a large part of oxygen removed, I would strongly recommend additional aerating of the water. This can be done simply by half-filling a clean, covered gallon jug and just shaking it to mix air into the water.
A terrarium is typically a hyper-humid and moist environment. Because of this, nothing dries fast which can cause disease to spread on plants from the excessive moisture.
To manage this always make sure to water around the plants and not onto the plants, this will help them stay healthy.
Take time once a week to soak the area around the plants and this will ensure enough moisture is available for the plants to live without submerging them.
Feeding
Never fertilize your carnivorous plants as this will cause the end of their lives by burning their root systems. Instead you can place a few small insects, whether live or dead, around the terrarium or directly in traps so they can get their nutrients.
As you may be aware insectivorous plants (aka: carnivorous plants) actually thrive from the nutrients contained as they break down the insect they catch to turn it into their food.
Many people will overfeed their carnivorous plants as they are worried they aren’t eating enough. At most you want to look at once-a-month feeding.
This amount is more than enough as most carnivorous plants can go months without food without impact.
Lighting
One thing to be weary of is that unlike when plants are free and outside of the terrarium, while inside you want them to avoid direct sunlight. Direct sunlight will cook and burn the plants, while only shade will cause poor growth and bad or poor coloring.
I would suggest fluorescent tube lighting or grow lights like I listed above that can hang right over the plants and give them what they need. Avoid spotlights as, similar to the sun, the pointed light will be too much, damaging and killing them over time.
For those of you with light meters: place the sensor in the tank and under the cover. When the sun or lights are illuminating the terrarium, an average candlepower runs from 500-800 using natural light, and from 400-600 using the above fluorescent lights.
In any case, do not let the lighting run the terrarium temperature above 95°F.
Maintenance
Now you must maintain your plants inside the terrarium, which will be pruning and cleaning up dead leaves. You may need to cut back moss attempting to grow fast and wild over the display.
Additionally, there are some sundews, like the Drosera adelae, that actually grow from runners and, over time, will need to be thinned out. Other plants can sometimes grow too close to your cover, which requires pruning.
You will want to occasionally clean the interior glass surfaces to keep them clean and easy to see through. You will want to use a damp cloth or a paper towel to clean these internal areas and NEVER use cleaners like a glass cleaner inside.
Make sure you keep your cover clean and free from excessive dust as this can decrease the light your plants will get.
If you choose to use fluorescent lights, replace the bulbs when they dim, the ends darken or light output decreases.
Final Thoughts on Making an Indoor Terrarium for Carnivorous Plants
The appeal to a terrarium you build and create is you get to choose the overall look and feel for how the plants lay out and in what visual style fits the area you will place it.
Definitely take time to understand your plants and their needs to ensure when you build out the terrarium you give them every chance at the longest life possible.
Hopefully, I have helped convince you to build your terrarium and I would love to hear from you if you build one, shoot a comment below and show off your creations to inspire others!
Please share this out on social media and out into Pinterest and help me spread the word, and thank you!
Leave a Reply